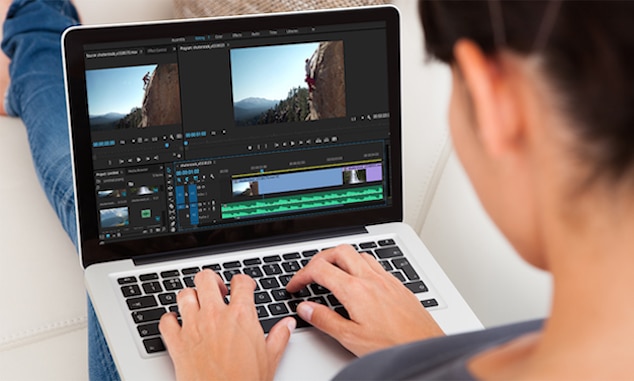
How to trim a video clip to the playhead with premiere pro. Editing can be timely and laborious work but there are shortcuts you can use.
Time matters when it comes to post-production. And when you’re working under a strict deadline, even simple things like trimming your clips in the timeline can become a burden. Both original clips and transitions need a bit of trimming in most cases using studio plugins with premiere transitions. When you’re trying to do it fast, trimming and dragging the ends of every clip can be a tiring process, especially if you have a lot of clips in your sequence and each of them needs some adjusting including the gaps after you trim the clip.
When you trim a clip, most likely you’ll have to sync your audio track to the video clip again. This, again, takes a lot of your time, especially considering you’re working on a long video.
Luckily, with this quick tip from us, you can perform trimming faster and in a more convenient way.
Doing the basic trim to the playhead
So, how can you do it fast and easily enough? Depending on the type of trim you want to execute, you can trim your clip from the end to the playhead instead of dragging it, or split the clip to the playhead without leaving any gaps between new clips.
First, let’s make sure your keyboard shortcuts are in the right place. To do that, go to the top menu, Edit, and then choose “Keyboard Shortcuts”. If you’re working on Mac, simply open the Premiere Pro menu and choose the Keyboard Shortcuts option. By default, Mac uses the Option-Q shortcut for every previous edit to playhead action and Option-W for the next one. For Windows, you can set any shortcut convenient for you.
The aim of this action is simply to trim the clip you’ve selected without splitting it. Basically, all you have to do is just set the playhead on the right keyframe and use this shortcut to automatically trim the clip to the playhead instead of dragging its end.
Doing the ripple trim to the playhead
This technique is perfect for when you want to trip your clips without leaving a space between them. Shift-Q and Shift-W will do this for you, but, again. You might want to check your shortcuts in the menu. This option is your best friend in case you want to split a clip in two. Just put the playhead to the intended keyframe and apply the shortcut ‒ it’s easy as that! Besides, if you don’t want to get confused in all these shortcuts, you can set your own.
Both these options are perfect for improving your workflow. No more looking for the trim button, no more clicks ‒ just use these shortcuts, and you can optimize your video editing process and get more free time.


